Zipping files is easy on the Mac. You just right-click on one or more selected files in the Finder, then click Create Archive. The files get turned into an easy-to-handle .zip file.
On iOS, it’s a bit trickier. Even in iOS 11’s new Files app, you’ll find no built-in support for zipping files into a single package (or for unzipping them). To zip files in iOS, I use Readdle’s excellent Documents app. Lots of one-shot iOS apps will also do the job, but I like Documents because it’s also where all my documents live.
Zip files in iOS with Documents
Zipping files is useful for several things. It’s still a good way to shrink a bunch of files for easy transfer, although with the bandwidth available today, that’s less useful than it was. Zipping is also a good way to avoid attachment limits in email apps that stop you from attaching more than a handful of files to an email. And you can password-protect a .zip file, making sure only the intended recipient can open it.
Documents is Readdle’s Finder-like app for iOS, which also doubles as a great PDF editor and file viewer. The new Files app coming in iOS 11 seems like weak sauce compared to Documents. And one of the Readdle app’s advantages is that it supports zipping files.
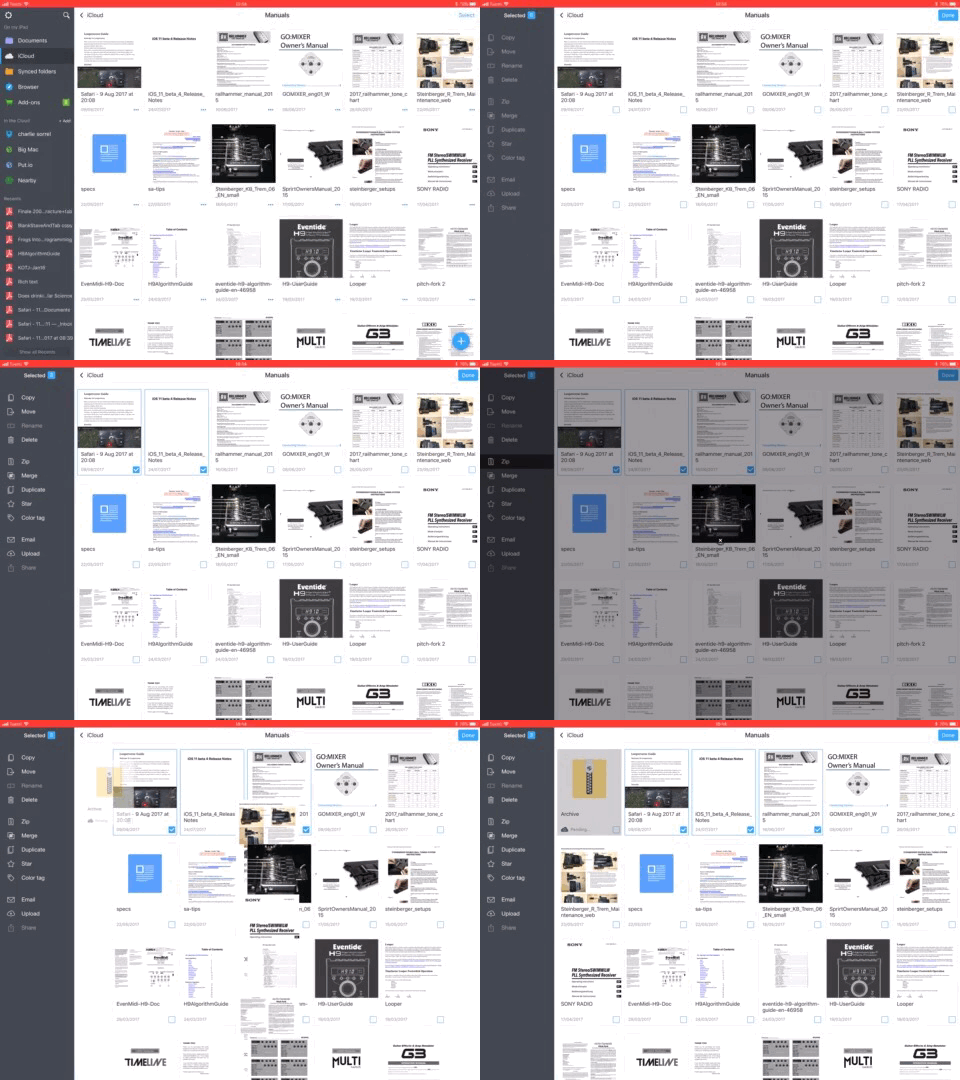
Zipping files in Documents is ridiculously easy. You just tap Select at top right, then tap the files you want to zip, then tap Zip in the sidebar. That instantly zips up the files and deposits the new .zip file in the current folder. From there, you can do whatever you want with it, just like any other file. You can email it, open it in another app, AirDrop it, and so on.
Unzip a file in iOS in Documents
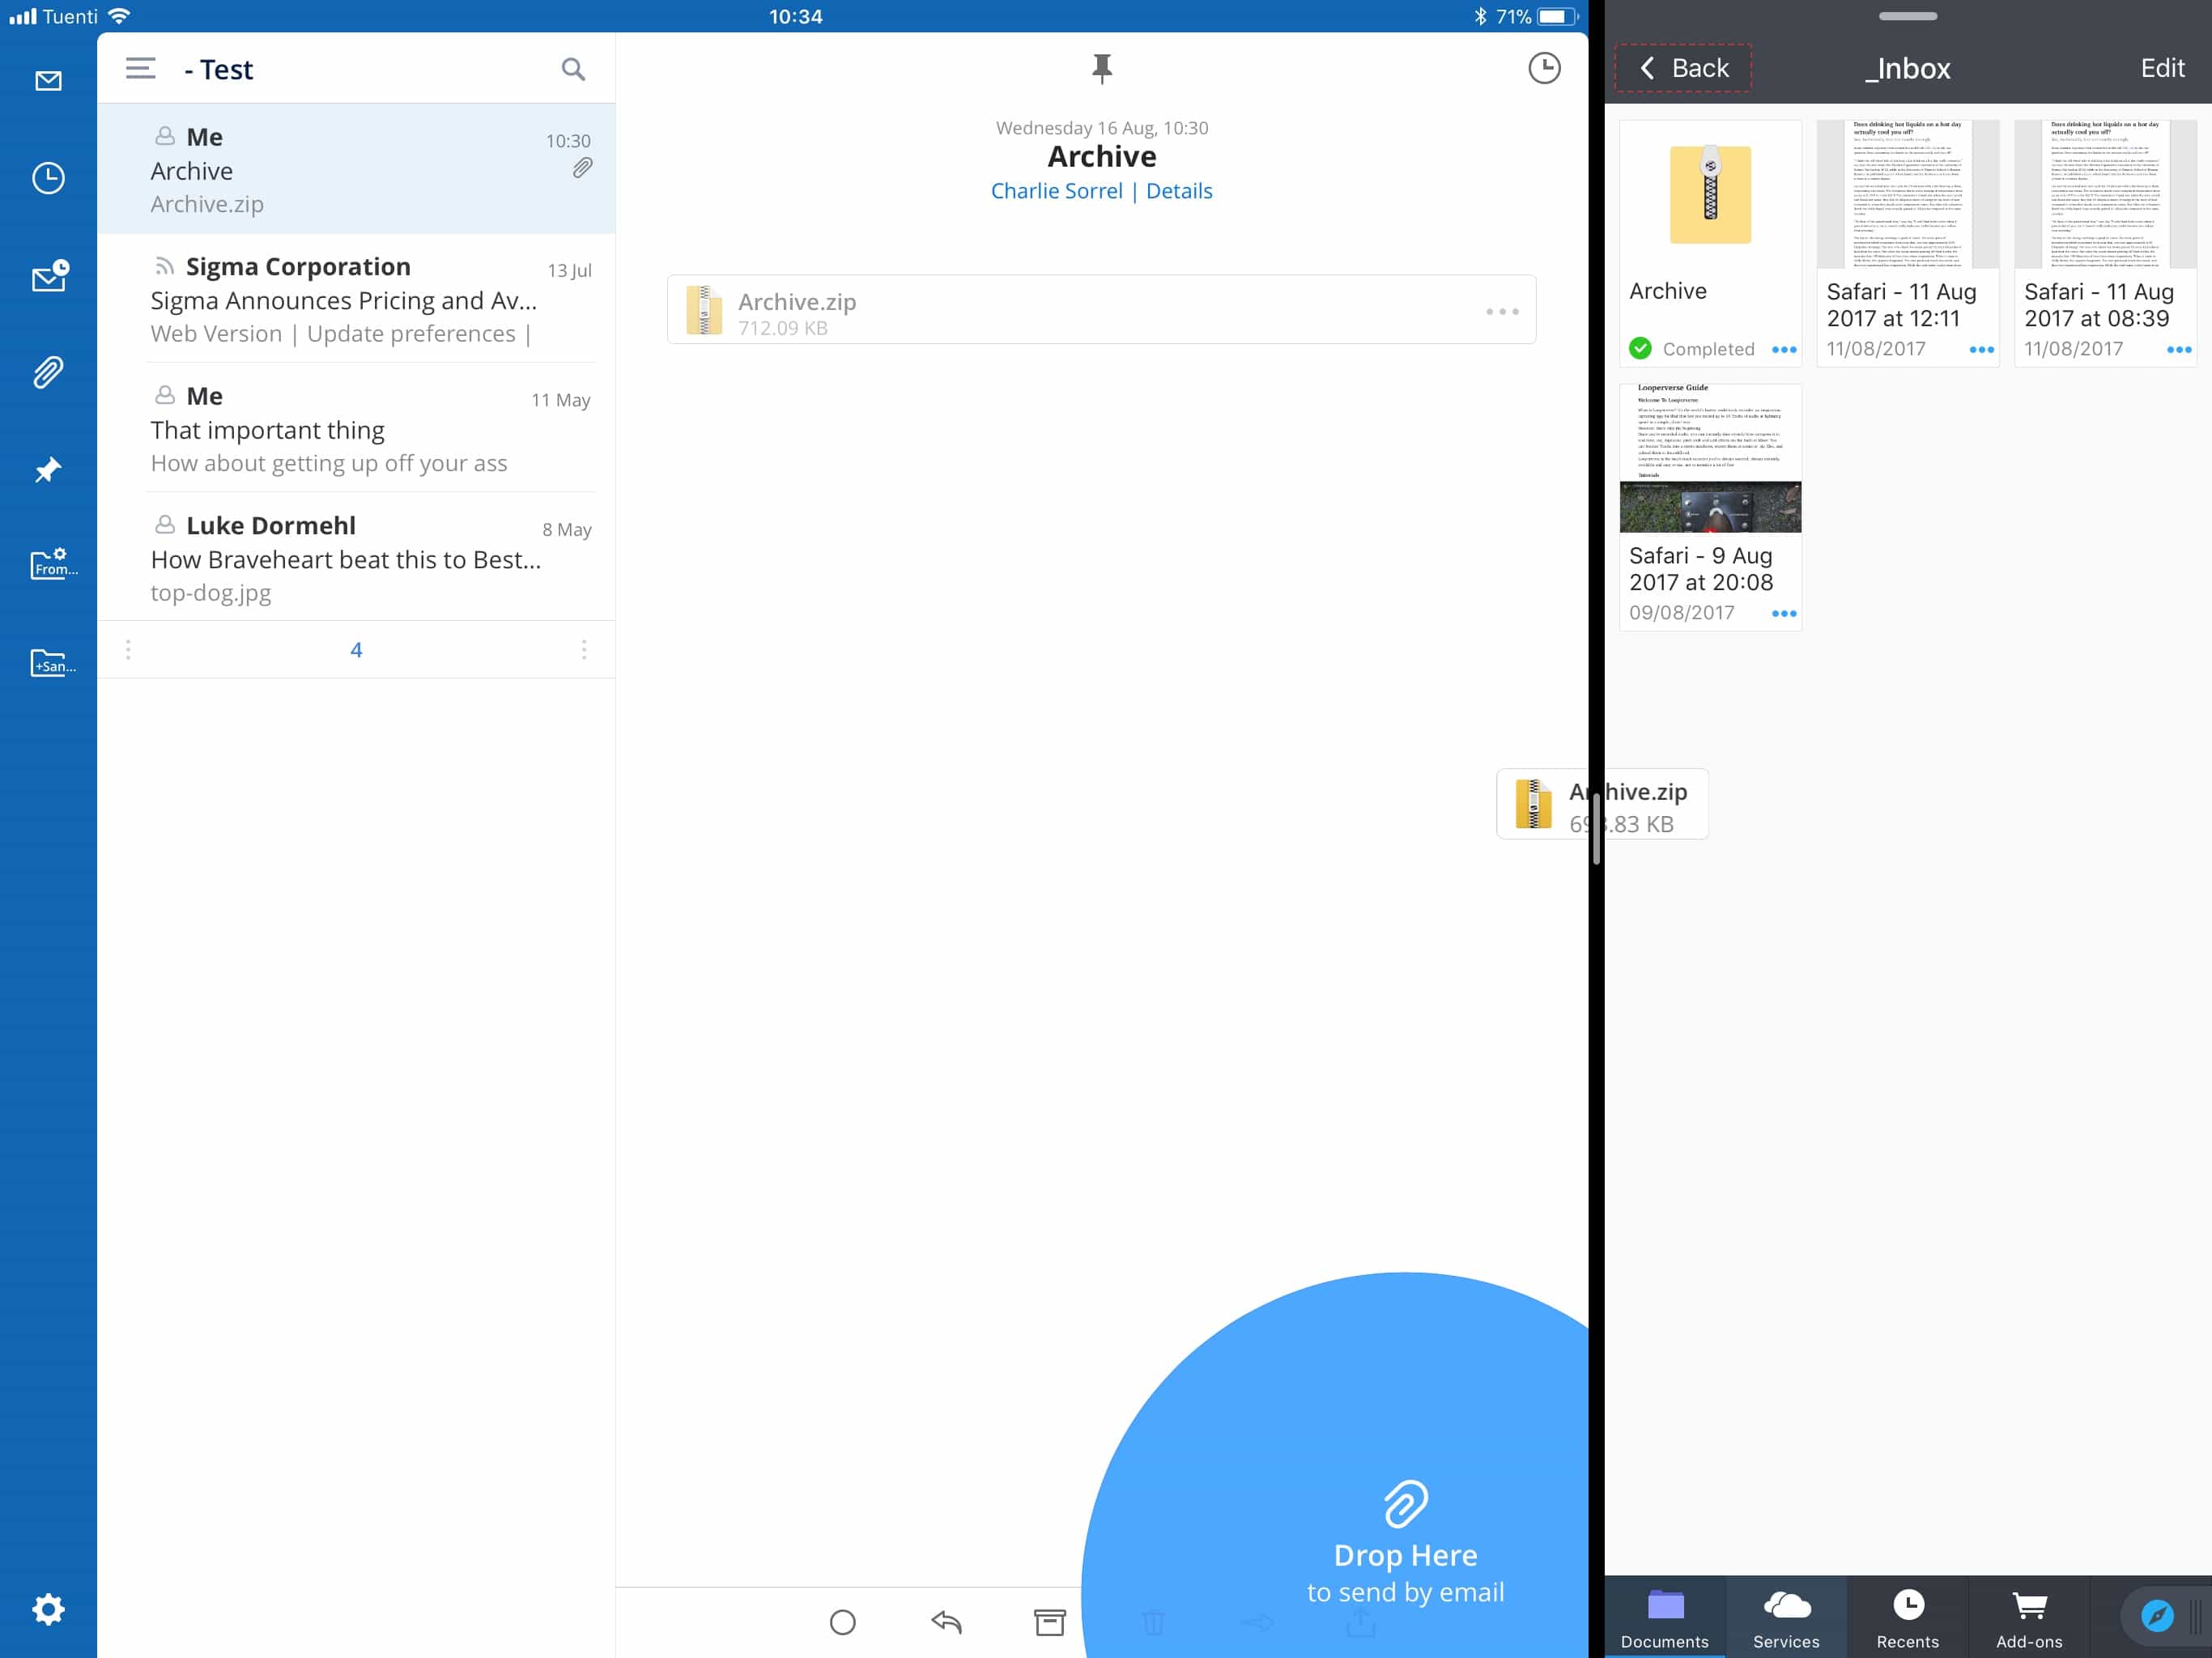
Unzipping a file in Documents is even easier. You just tap the .zip file, once, and the app unpacks everything into a folder. The folder will be named Archive. (If you unzip more than one .zip file, the app names subsequent folders Archive-1, Archive-2, etc.)
To unzip a file, you will first have to get it into Documents. That’s also easy — you use the standard “Open in…” dialog, and either open the .zip file in Documents, or copy the .zip file to a folder in iCloud Drive, and then access that inside Documents.

Photo: Cult of Mac
Once that file is inside Documents, proceed as above.
Mail app’s built-in Zip support in iOS 11

Photo: Cult of Mac
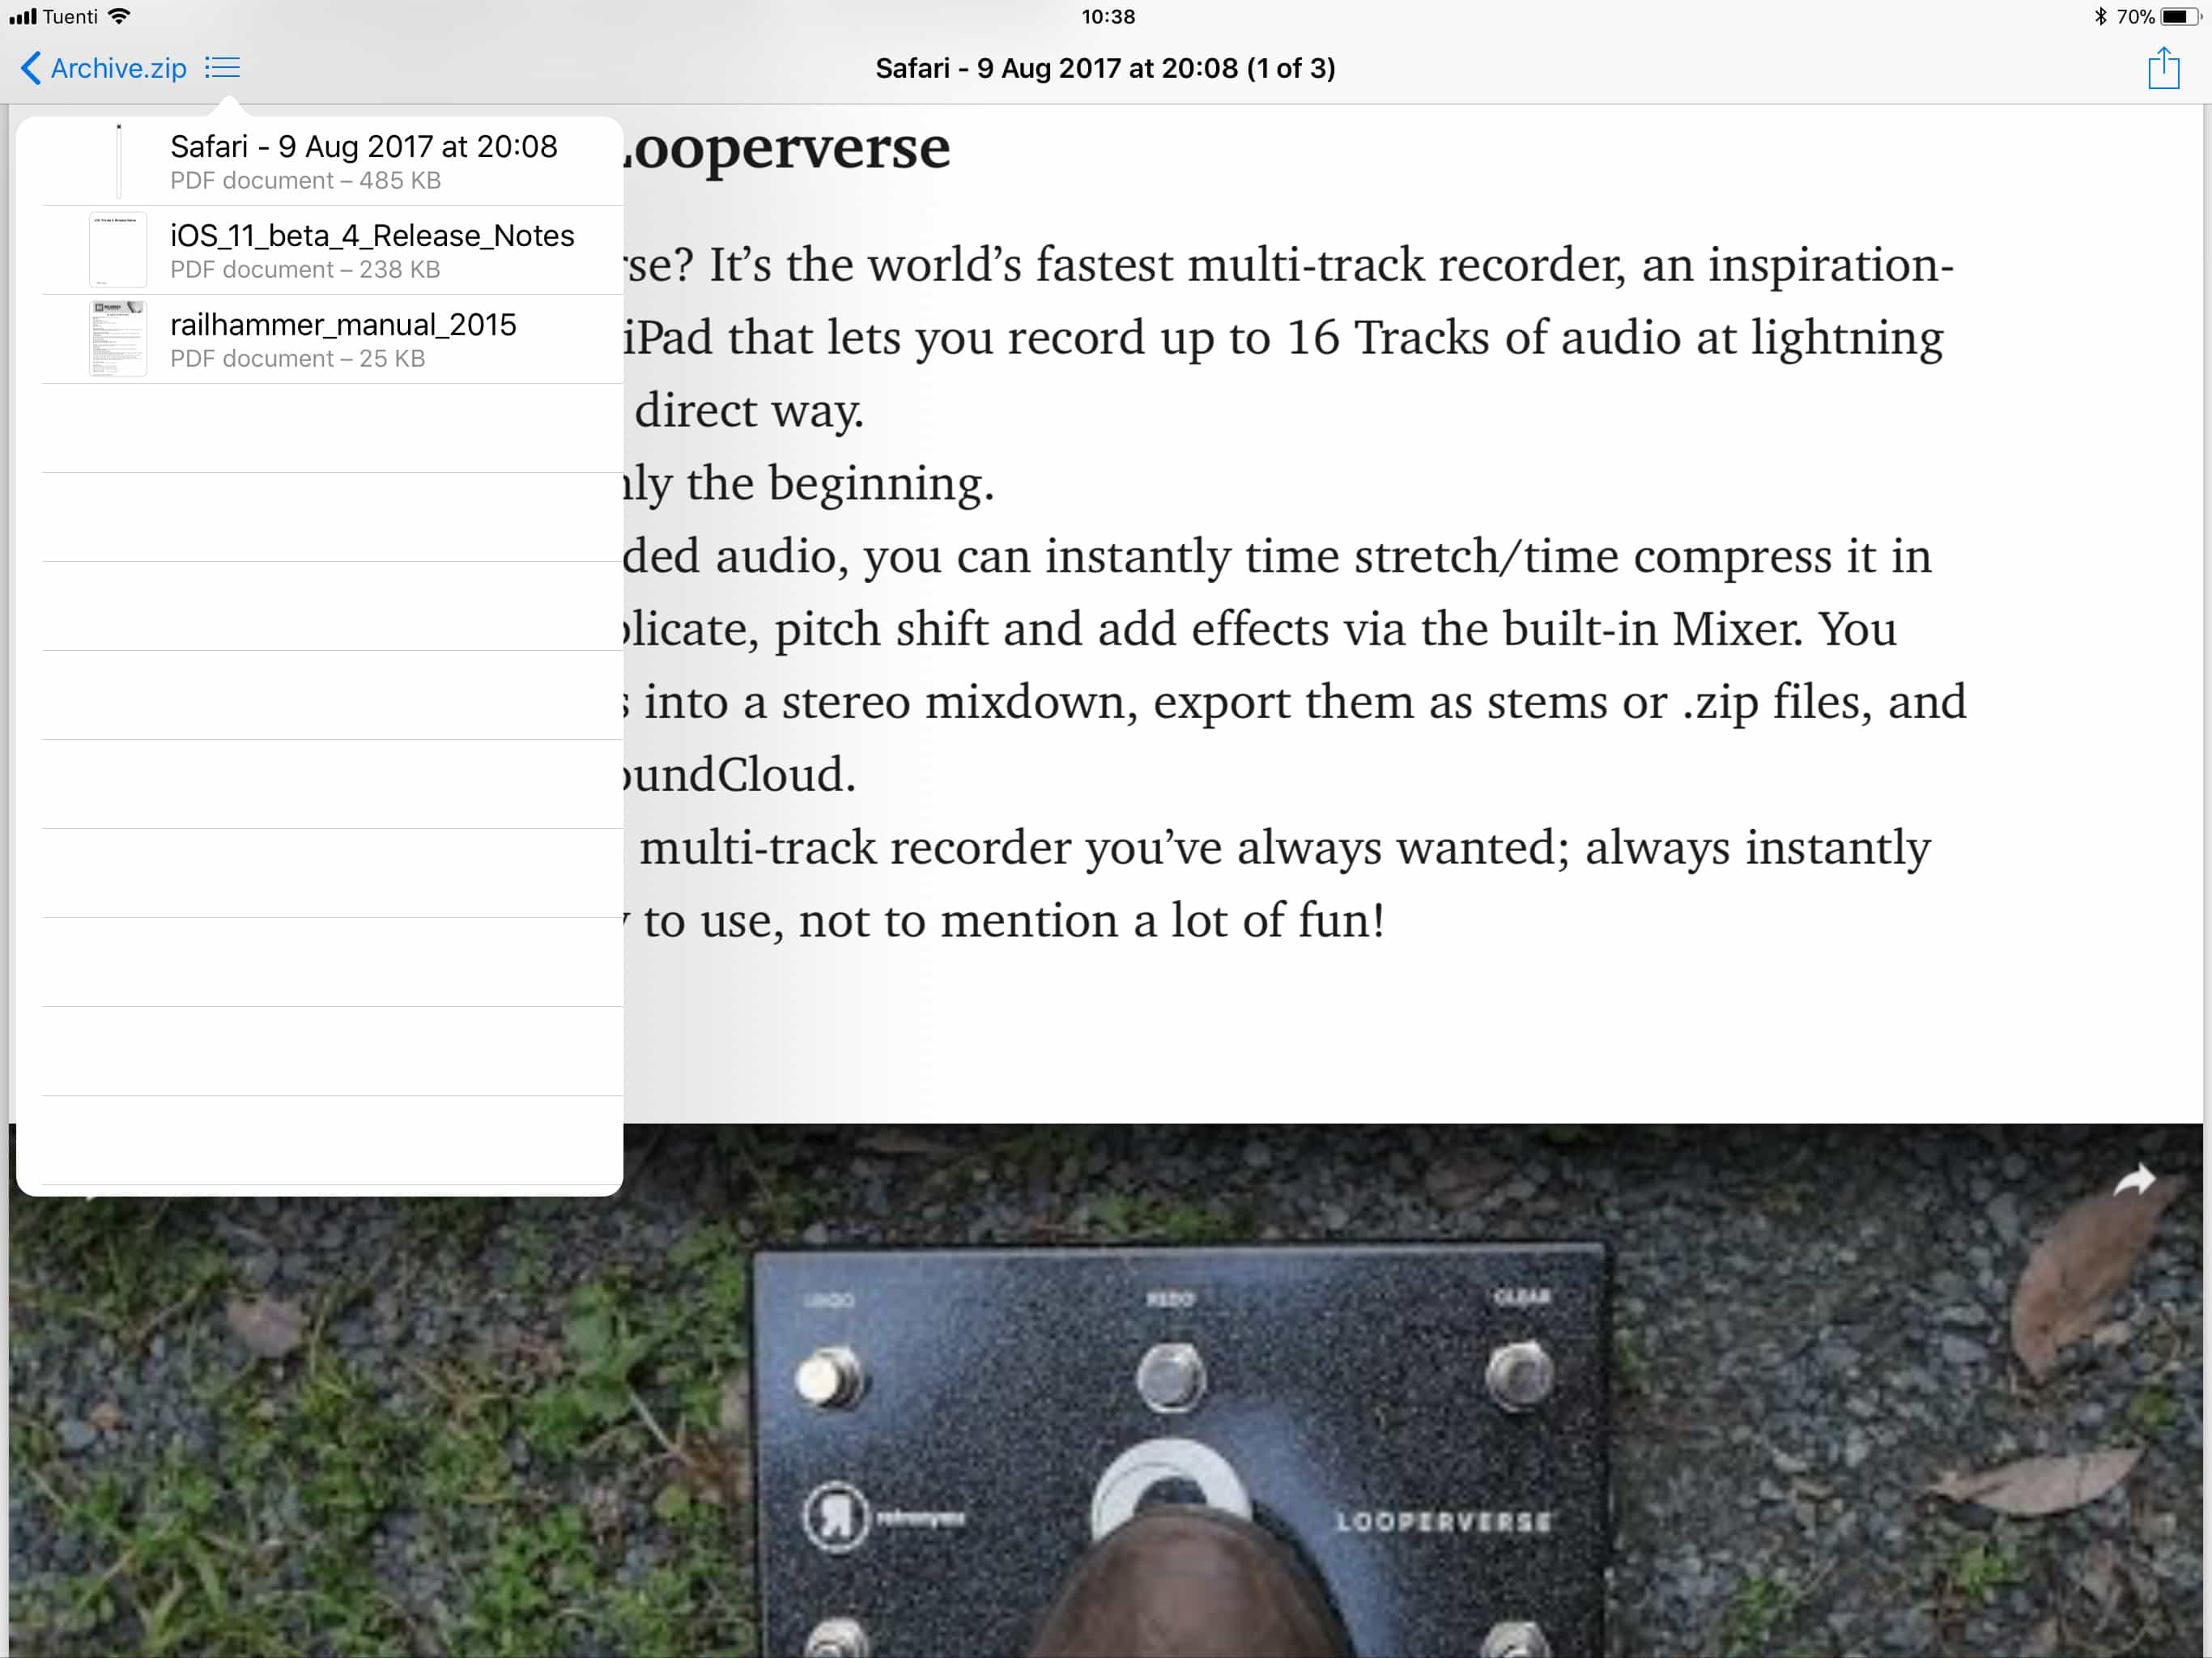
If you’re running iOS 11, you can use the built-in Mail app to unzip files that get emailed to you. Just tap on the attachment in the email, and you will see the option to Preview Content. Tap that, and you’ll see the above view. You can view anything inside using Quick Look, and even save and send individual files, all without unpacking the .zip file first. This is a great way to quickly see what’s what, but Documents is a lot easier if you need to actually save and wrangle the unzipped files.
Zipping up…
Zipping seems a little old-fashioned, but both Mail and Documents handle .zip files efficiently and elegantly. Mail in iOS 11 lets you deal with files while they’re still zipped up inside an email. And Documents requires that you copy the zip into its own storage area. But Documents offers more powerful options in return for this. In reality, both work well together, complementing rather than replacing each other.


