0:00
The new Optimise Storage feature helps you to deal with junk like duplicates, old email
0:09
attachments and downloads, and automatically sifts through them to delete the files or
0:14
move them to the cloud. It's one of macOS Sierra's best features, and here's how you can use it to your advantage
0:20
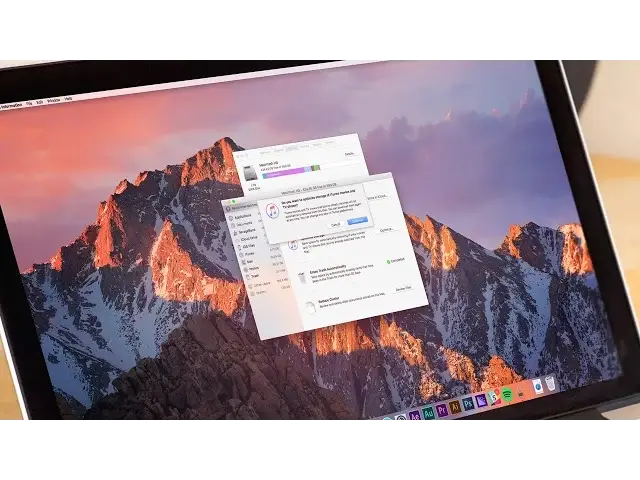
To get started, click on the Apple logo in the top left side of the screen, and click
0:24
the About This Mac option. After the window opens, select the Storage tab to view a breakdown of your storage setup
0:31
Next click the Details button on the right hand side. Optimise Storage presents four different options
0:36
Store in iCloud, which moves photos and videos to iCloud to save room on your Mac
0:41
Optimise Storage, which removes previously viewed movies and TV shows. Erase Trash Automatically, which automatically empties your trash after a file has been there
0:49
for 30 days. And Reduce Clutter, which lets you review and delete older documents, a bit like various
0:54
third party app cleaners. Store in iCloud is only going to make sense if you're willing to pay, or already paying
1:00
Apple for extra iCloud storage, since the 5GB that the company gives you as a taster
1:04
will vanish in no time. Optimise Storage is as good as you would have hoped based on the WWDC demo
1:10
Automatically deleting any TV shows or films that you've already watched, along with email
1:14
attachments is the kind of thing that saves an enormous amount of space
1:18
It can also be undone very easily if you purchase through iTunes
1:21
Once you have confirmed that you want to optimise storage, macOS Sierra will take care
1:25
of everything else. Erase Trash is fairly self-explanatory, although it's a neat touch for anyone who lets their
1:31
rubbish pile up for months, or even years, without doing anything about it
1:35
Finally, Reduce Clutter allows you to jump to the largest files stored on your Mac, so
1:39
that you can play judge, jury and executioner regarding their right to stay on your machine
1:44
Once your largest files have been identified, the Reduce Clutter feature makes it easy to
1:47
erase files, by simply hovering over the one you want to dispatch, and then clicking
1:51
X for delete or the magnifying glass icon to locate the file within Finder
1:56
As one final added tip, you can make sure to check within iOS files by clicking the
2:00
tab on the left hand side of the screen. This is particularly useful since iTunes stores all of your iOS backups, taking up a ton of
2:06
space and often creating duplicate backups over time. Go through the list and work out whether something is an unneeded backup based on the date it
2:14
was first created. Well, that's it for this video, but if you found it useful, go ahead and hit that like
2:19
button, and don't forget to hit subscribe for more great tutorials like this
2:23
I'll catch you in the next one