live_tv
Livestream Starting Soon
00
Hours
:
00
Minutes
:
00
Seconds
Up next in 10


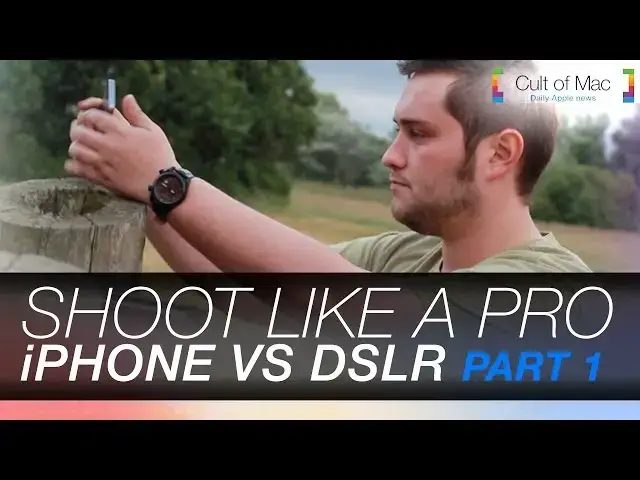
With the iPhone taking commonplace of the digital camera, today's video shows you how to make the most out of your iPhone camera, to avoid those blurry, out of focus shots, and the same old boring photos you see day after day on social networks.
With all of the tips building up to take on a pro photographer and DSLR in part 2 of this video. Check out part 1 now to see all of the tips!
Subscribe to Cult of Mac TV to get all the latest videos from cultofmac.com !
Sam Mill's personal photography - https://www.flickr.com/photos/sammillsphotography/
Show More Show Less View Video Transcript
0:00
hi I'm St Smith with cc.com so the
0:03
iPhone is taking the place as the
0:04
everyday camera today we're going to put
0:06
it head-to-head with the professional
0:07
DSLR to see how it Stacks up let's get
0:10
[Music]
0:17
started we're here in Liverpool City
0:19
Center to put my iPhone 5s's camera
0:22
against Pro photographer Sam Mills and
0:24
his professional equipment all while
0:26
showing you how to get the most out of
0:28
your iPhone photography with a few basic
0:30
tips accessories and apps Sam will be
0:34
using a Canon 60D which has 18
0:36
megapixels and an ISO of 6400 for great
0:40
low light photography along with a few
0:42
spare lenses whilst I will be using my
0:45
trusty iPhone 5S which only has 8
0:48
megapixels but those megapixels are
0:50
larger than the standard along with the
0:53
fixed aperture of f 2.2
0:59
[Music]
1:02
the first thing about any good picture
1:04
is obviously being able to see it
1:06
there's nothing worse than a blar blown
1:08
out
1:10
image so one of the key factors to
1:12
taking great photos with your iPhone is
1:14
exposure and focus and this is even
1:16
easier on an iPhone than it is on a
1:18
traditional DSLR so what you do is open
1:20
up your camera app and decide what you
1:22
want to focus on so for this image I
1:24
want the landscape to stand out all I do
1:27
is simply tap and my exposure is set to
1:29
it if I was to set my exposure to the
1:30
bright Sky it will darken everything
1:32
else and it's the same for dark scenes
1:35
tap on the darkest spot and the camera's
1:36
exposure will turn everything up bright
1:38
once I'm happy I just tap and hold to
1:40
lock my settings in and as you can see
1:43
here's the original image really dark
1:44
and dingy and here's the final one a lot
1:46
brighter cleaner and more pleasing to
1:48
the eye same goes for these shots once's
1:51
the automatic exposure and once's
1:53
fiddled and easier to see the subject
1:55
I'm trying to
1:56
[Music]
1:57
capture and the same steps go for your
2:00
focus simply tap on your subject and the
2:02
camera will
2:04
focus this works particularly well if
2:06
your foreground is close to your camera
2:08
creating a nice depth of
2:12
[Music]
2:15
field another factor that I noticed when
2:17
going head-to-head against the DSLR is
2:19
that the DSLR is a bit easier to hold
2:21
whilst taking pictures due to its
2:23
ergonomic grips there's no use spending
2:25
all that time if you're still going to
2:27
take a blury image if your hands are too
2:28
shaky so another great tip is to always
2:31
keep your iPhone stable you can do this
2:33
by putting on things like a tripod or if
2:35
you haven't got one of them available
2:36
you can use benches trees or even
2:39
[Music]
2:42
people as well as keeping it steady you
2:44
still need to frame your shot well so
2:47
one of the most underused features on
2:48
the iPhone's camera is the grid option
2:50
which uses the basic theory of ruler
2:52
thirds when taking a photo using this
2:54
grid format what you want to do is line
2:56
your subject matter up with these cross
2:58
points it's where the human eye
2:59
naturally Gra itage towards rather than
3:01
putting your subject matter slap bang in
3:02
the middle every time it's going to make
3:03
your f a bit boring to turn the grid
3:06
feature on just go to your settings then
3:09
photos and Camera then simply switch the
3:11
Grid
3:15
on just like the slrs iPhones are great
3:18
for action shots they can rapid fire
3:20
photos so you can go back and choose the
3:22
best picture from that best taking be
3:24
shots on your iPhone couldn't be simpler
3:26
all you need to do is hold on to your
3:28
shutter and your iPhone releases a bur
3:30
of photos and plac them neatly into a
3:32
pile it automatically selects the best
3:34
image from the
3:38
burst and you can also get some really
3:40
creative shots like these of Sam
3:42
levitating although I'm going to need a
3:45
bit more practice before I get to Sam's
3:49
quality so my last and final tip is just
3:51
to experiment play with different angles
3:53
Heights Place things in the foreground
3:55
the more unique shots that you get
3:57
they're going to be more interesting to
3:58
your viewers
4:00
taking photos from different heights can
4:02
really transform an image and even
4:04
change where the eyes is being drawn
4:07
to all of these tips combined will let
4:10
you make the most of your iPhone's
4:11
camera for everyday shooting holiday
4:14
snaps or even if you're feeling a bit
4:16
creative and what about the issue of
4:18
using an iPhone or a DSLR well check
4:21
that out in the second part of this
4:22
video next Saturday when I'll be
4:24
comparing shots sh you the best iPhone
4:27
photography accessories and apps
4:30
until then if you like this video please
4:32
give it a thumbs up as it really helps
4:34
us out and don't forget to hit the
4:35
Subscribe button so you don't miss a
4:36
single video from Cult of Mac 7 days a
4:38
week also you can check out Sam's
4:41
photography from the link in the
4:42
description I'll see you next time
#Online Video
#Photographic & Digital Arts
#Consumer Electronics
#Camera & Photo Equipment
#Virtual Reality Devices
#Event & Studio Photography